If this is your first attempt, it may be useful to read the LiveCode Basics page first.
What we do here
"Colours" lets you experiment with computer colours.
There are several ways of quantifying colours, but the most commonly used system is RGB: the red-green-blue model, probably because our human colour vision works with three receptors for colour and they are indeed sensitive to red, green and blue.
Red, green and blue are the basic components: we see a certain colour depending on the intensity of each of these three components.
In the basic RGB model each colour can have an intensity value from 0 to 255. Don't worry for now about where the 255 comes from. Any colour can then be specified by just giving three numbers, for example: 20,150,86. Since they are the red, green and blue intensities, we can say that 0,0,0 is black (nothing of any colour), and of course 255,255,255 is then white (all three colours at full intensity). It is then also easy to understand that 255,0,0 is red, 0,255,0 is fully green, and 0,0,255 is blue.
But all other combinations are less easy to think of, and our program will let us experiment.
Specification
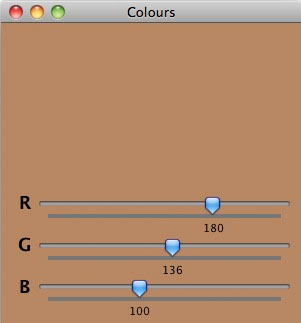
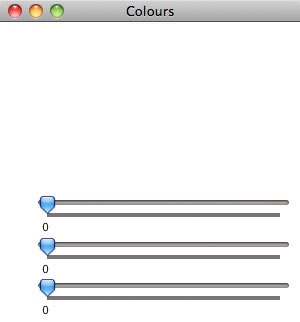
We are just going to put three sliders on a square canvas and colour the canvas using the values of the sliders.
what the Colours program will look like
The sliders will let us set the intensities of the red, green and blue components of the colour.
Beginning
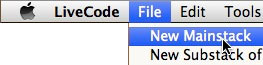
Start with a new main stack. A program is known as a stack in LiveCode terminology.
make a new program
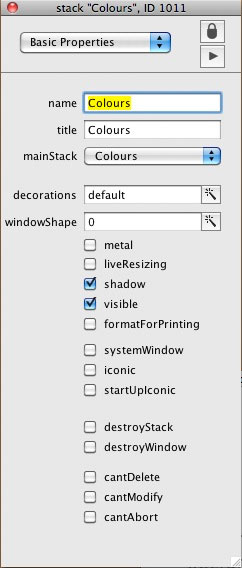
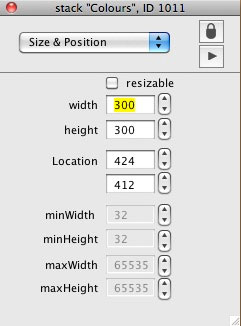
Using the stack inspector (get it from the menu Object), in its Basic Properties call it Colours, and in its Size & Position set the size to 300 pixels wide and 300 pixels high, make it not resizable:
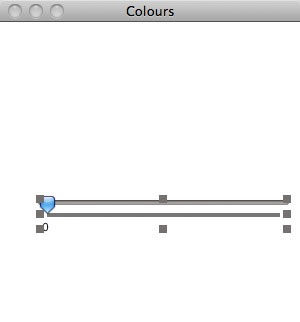
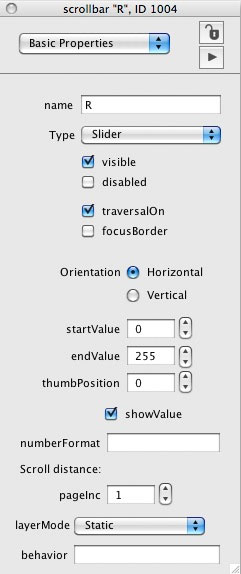
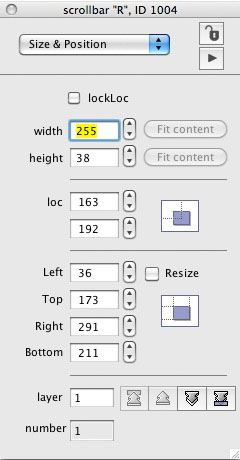
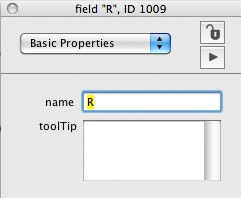
Drag a simple scrollbar from the tools palette to the stack and open its property inspector (get it by right-clicking the scrollbar itself or get it from the Object menu). Using the Basic Properties set its name to R, its start value to 0 and its end value to 255; then using the size & position set its width to 255 pixels:
Make two more scrollbars like this. You can do that by copy-pasting the one you already have, which is the easiest thing to do, but you can also just drag two more from the tools palette. Call the new ones G and B respectively. That should leave your stack somewhat like this:
the three sliders
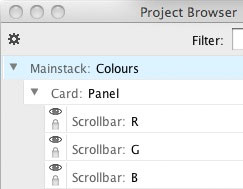
In the Project Browser (get it from the Tools menu) you should see:
the program's structure in the project browser
There is an object called a card in the project browser. Don't worry about it now. I renamed mine to Panel but you probably see something like card id 1012. Again don't worry, the name is not important.
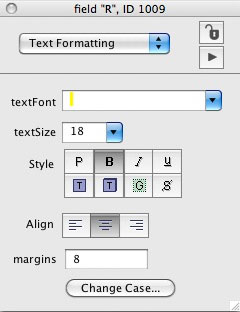
To finish off the interface, we put three label fields in front of the sliders, so we know which one influences which colour. Drag label fields from the tools palette, with the inspector give them names, change the contents, and make the text in them larger, bold and centred:
Your program should now look like:
Save your work in a file.
Coding
Click on the run arrow in the tools palette:
the run arrow is the left one at the top
You can now move the sliders around, but nothing happens. That is because the sliders do not have program code behind them yet. Writing that code is what we are going to do now.
In the Project Browser, click the light blue square at the right of the line of the scrollbar "R" (the square has a white zero in it):
caption
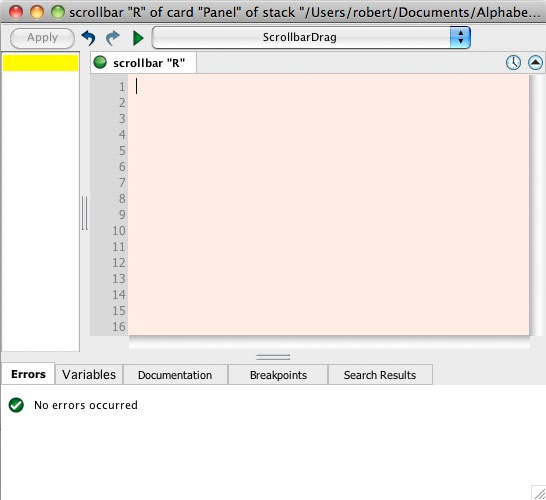
The programming panel pops up:
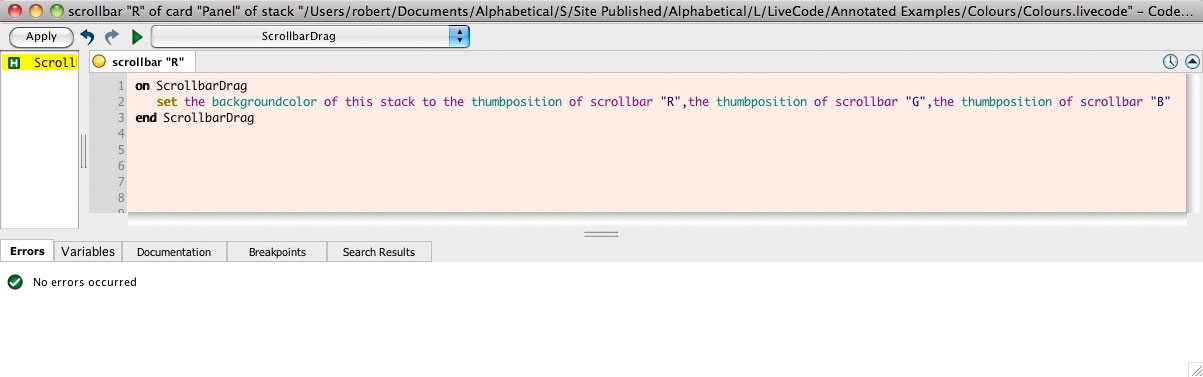
the programming panel
The background colour and some other details of that panel may be slightly different on your machine. Note that there is a tab with a green button, called scrollbar "R". Here we can now type code.
Each object of the program can receive messages. A message is usually sent when something happens, i.e. an event occurs. For example, when you click on a button, the button will receive a message called MouseUp because the event that you made happen was to let the mouse's button go up. Likewise, a scrollbar will get the message ScrollbarDrag as soon as you move the scrollbar's indicator.
Our scrollbars can go from 0 to 255, and the value that corresponds to the indicator's position will also be sent along with the message. Each message can be dealth with by a message handler.
A handler is a piece of code that starts with the word on followed by the name of the event's message. We can write: (and don't worry yet about what it means, though admittedly there is a very long line in it!)
Just type it in, the colours and boldface will be applied automatically as you type. The programming panel will then look like:
the first handler's code
Note that the green button has become yellow, to indicate that the program has not yet been applied to the scrollbar object. Click the Apply button to do that; the button should go green again.
Now let us look at what our program means.
First we notice that there is a line on ScrollbarDrag that is balanced by the line end ScrollbarDrag (which was provided automatically as you typed). Those two lines enclose the commands that will be done when the scrollbar R receives the message ScrollbarDrag.
The second line of our handler is
set the backgroundcolor of this stack to the thumbposition of scrollbar "R",the thumbposition of scrollbar "G",the thumbposition of scrollbar "B"
That is a very long line, but it is not complex. (note: you cannot write "colour", you must use the US spelling "color", though this may change in the future). If we had wanted to set the background colour to black, we could have written:
set the backgroundcolor of this stack to 0,0,0
but we want to use the values indicated by the sliders, so we must refer to the three sliders. The thumbvalue is the value that the indicator or "thumb" of the slider is set to.
We must now write the handlers for the other two sliders, and they are identical: just use the blue squares of the other two scrollbars in the Project Browser to get two more tabs in the programming panel, and copy-paste the code from the first slider's program!
three code tabs, with the one for scrollbar "B" showing
That's all there is to it. Press the run arrow in the tools palette, and move the sliders around.